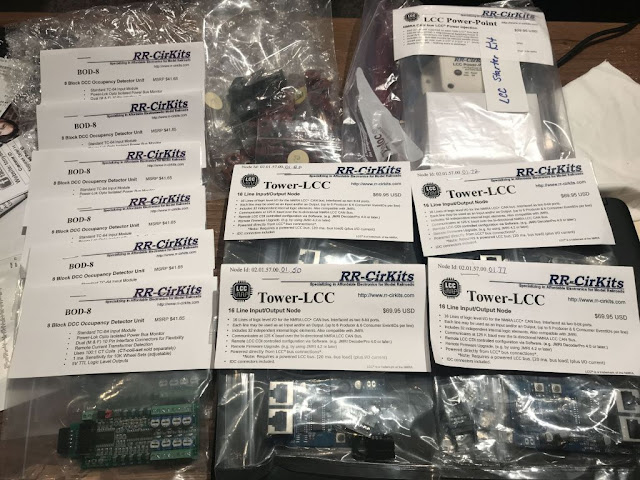
Posts

Showing posts with the label Staging Yard

Main Deck Progress!

Image
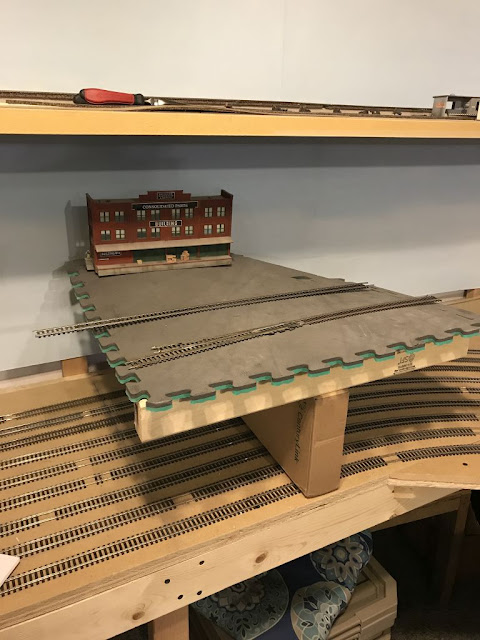
The radio silence does not mean that progress has not been happening!  In fact, the main deck benchwork is complete and track is quickly being laid.  Here are some highlights and commentary: Before building everything out, I set up a temporary mockup of the elevation the main deck will be set at.  Recall there was some adjusting during design on this.  Looks like it is working out! Next set up backdrop supports along the peninsula. Framing of the main deck proceeding.  I built them off the layout, then set them in place.  Screwed to the wall and then temp supports for the front edge. Pieces coming together! I tried joist hangers on the previous buildout and really like them.  Did so again on this expansion.  They look flimsy, but in reality, they are rock solid.  Recall the lateral support comes from the back edge, not the front.  These just provide vertical support.   A couple more examples of the ...

LCC and Wiring Continues

Image
Slower than desired, but better to do it right now than try to fiddle it in later.... In my last staging yard, I never did install feeders.  Instead I just counted on the continuity of the turnouts to carry power to each of the 16 staging tracks.  Bad idea.  ~Most~ stayed powered up over the 10 or so years it operated.  ~Some~ randomly dropped out... necessitating fishing and soldering wires onto tracks with 7" spacing between decks.  Not uber-fun at all. SO... with GNW Phase 3, I promised myself ALL track would have feeders every 6' (one feeder per 2 sticks of flex), plus additional feeders in any other complex areas such as yard throats.  This would also allow me to have every other stick of flex not have to be soldered at the track jointers, allowing for expansion and contraction of the benchwork.  BUT... this comes at a cost.  Instead of 16 single ended tracks, I elected to have a 9-track staging yard, each track capable of holding 3 tra...

Wiring, Controls, LCC and Turnouts

Image
Progress continues, and wanted to share some ideas for those who may care.  Received my first package of LCC components and starting thinking about how to lay out the nodes.  One thing my good friend Dave Cochrun did on his layout was mount the controls onto a board that is easily accessible to wire and maintain.  What a concept!  In the past I attached my control pieces onto the benchwork... which means crawling under the layout for every little thing.  No more!  Cut a couple pieces of plywood 14" x 24" and wa-la, a perfect place to mount components.  I painted them white to give it a little more finished look and feel.  Next to lay out the components.  First step is to figure out what inputs and outputs I have from each part of the layout.  Being a bit of a nerd, I built up a spreadsheet in Excel to assign points.  Really this is important for whatever wiring you may do.  If this step is skipped, you will get lost ...

Staging Tracks Are Laid!

Image
In another milestone reached, all the staging tracks are laid!  You cannot ever have enough staging, but there are practical limits.  That said, I think I packed in as much as I could.  The track plan developed a 'continuous' staging scheme, unlike the dead-end staging on the previous version.  Hopefully this will reduce the time needed for staging.  After running over the main, EB trains will enter the "points east" end of the staging yard, and then emerge on the "from the west" end as an EB train again.  Previously I had to back out each train, turn it around and then back it into the yard.  As such, and EB train would become a WB on the next session. There are 9 staging tracks, each roughly between 30 and 40' in length; shorter inside and remarkably longer as they go out.  I plan to keep the very inside track as a run-through to allow people to just run trains in circles or break in equipment.  This is a first for my layout!  Up unt...