Excited to report that a LOT of work has been done on Mesa City. The area around the wye has been scenerized. Got Orchard Supply yard finished up, added the buildings, and put up some fence. The fence was a bit tedious, but sure makes it look better.
Pavement is 0.100 styrene spray painted a dark gray. The styrene was cut up to the ties. The pavement between the styrene and track is unsanded grout. Came out pretty nice!
Test driving some of the rail cars.
Once the pavement was down, started adding scenery. The 'dirt' is sifted play sand. The ballast is sifted "gray breeze" from the landscape materials lot.
With that in progress, I blended in the new work with the old.
Use a LOT of different textures and materials to get the siding tracks to look like they have not seen much maintenance over the years. Added fencing as well.
To break up the massive pavement area, I put a strip of "dirt" with styrene curbs delineating the space between the lumber yard and the parking lot. It came out pretty nice!
Adding some power poles helps add the vertical element and makes it feel larger.
Closeup showing the weathered and worn leads. The track to the left is for switching and car storage. The one to the right is the wye lead, and more used, so looks less run down. I forgot to paint the rails before scenery... doh!
As a part of this work, I wanted a working gate. I found that ebay had these 12V slow motor drives.
I epoxied in a brass wire long enough to reach through the benchwork and to the top of the fence, plus enough to 'hang' the gate from it. I thought about doing a linkage that would open 2 gate doors, but just did not want to spend the time on it. A 12V power supply and a DPDT toggle switch controls the gate. I think it looks pretty snazzy! Alas, I had trouble aligning the gate with the fence I already installed, so the gate is slightly offset. Probably bugs me more than anyone else....
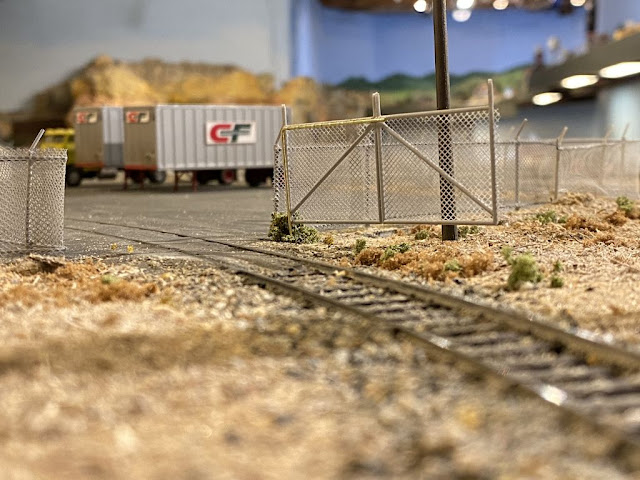 |
Note the brass wire supporting the gate. Still need to paint it to make it blend in.
|
How did it all come together? Let's follow a local to service the new customer!
 |
| Local powered with an MP15DC pulling a couple loads for OSH. |
 |
| Classic red caboose bringing up the rear. |
 |
| After dropping the caboose, the crew shoves up the lead and stops short of the gate. |
 |
| Once opened, the crew continues the shove into the customer's yard. |
 |
| Lot's of flagging and slow movements needed! |
 |
| Once the cars are in place, they are tied down (hand brakes applied), and the switcher is cut off. |
 |
Carefully backing out of the yard.
|
 |
| Before leaving, closing the gate. (Maybe that offset will bug me enough to redo it!) |
 |
| Once closed, the crew climbs back up and moves along to pick up the caboose. |
 |
| Running around the wye is the easiest to get on the right side of the caboose. |
 |
And back to Warm Springs for the next assignment.
|


Comments
Post a Comment