Posts

Layout Command Control - The Adventure Begins!

Image
Layout Command Control, a.k.a., LCC, is a data highway for the control of layout accessories, such as turnouts, signals and other accessories.  It can also accept data inputs  like block occupancy and push buttons.  Planning on using LCC for the control of my layout.  First order is in and just got shipped.  Let the fun begin!

Staging Tracks Are Laid!

Image
In another milestone reached, all the staging tracks are laid!  You cannot ever have enough staging, but there are practical limits.  That said, I think I packed in as much as I could.  The track plan developed a 'continuous' staging scheme, unlike the dead-end staging on the previous version.  Hopefully this will reduce the time needed for staging.  After running over the main, EB trains will enter the "points east" end of the staging yard, and then emerge on the "from the west" end as an EB train again.  Previously I had to back out each train, turn it around and then back it into the yard.  As such, and EB train would become a WB on the next session. There are 9 staging tracks, each roughly between 30 and 40' in length; shorter inside and remarkably longer as they go out.  I plan to keep the very inside track as a run-through to allow people to just run trains in circles or break in equipment.  This is a first for my layout!  Up unt...

But first things first....

Image
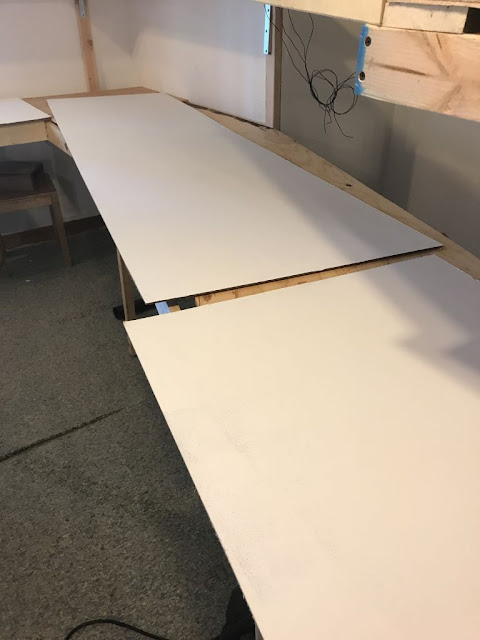
It is SO easy to get ahead of yourself on a layout.  Such was the case for me.  I was definitely excited about getting some track down.  But laying track before installing a backdrop is not the best idea.  Sooo... time to put up some backdrops!  None of this is technically difficult.  Sharing some ideas that may help someone out there. Started with 3/32 (1/8") Masonite (or Masonite equivalent - the thin, wobbly stuff) and painted them white.  The white provides a nice surface for painting later on. Windows... framing... all looks a bit crude.  Watch the transformation.... I had put 2x3 posts up at strategic locations to support the Masonite.  As it turned out, I needed more, so they were added.  Once they were in, I used short (1-1/4") drywall screws to attach the sheets.  Each hole was pre-drilled and countersunk to keep the surface of the backdrop material as smooth as possible.   Just adding some ...

GNW Logo

Image
Exciting Announcement! After (literally) 50 years of the Great Northwestern Railway (I came up with the name BEFORE my teen years), the GNW finally has an official logo!   Many thanks to the creative genius of my good friend Dalton Vanhooser for developing the idea and making it happen.  If you are ever in the need of a top-flight graphics design artist, look him up.

Hear Ye - Hear Ye: Upper Deck Track Complete!

Image
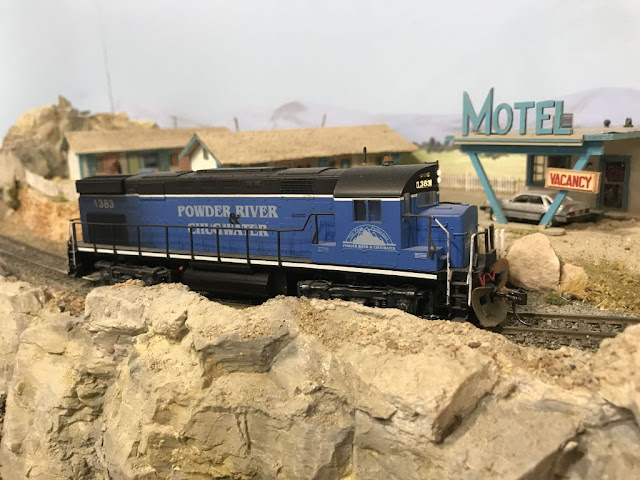
It is with great pleasure that the management and staff of the Great Northwestern Railway announce completion of the upper deck track work.  This important completion connects Chloride Junction with El Vado and Warm Springs.  Until now, our equipment and rolling stock were islanded. A short work train has been working from the Chloride side.  As soon as the connection was made at El Vado, Powder River and Chugwater Alco C420 #1383 was able to be run over the new line.  The GNW has been accumulating lease charges on the locomotive as it had been stranded since the work on the new line started. The following photos were taken by an anonymous railfan-photographer who chased 1383 over the new line. The Alco working its way up previously existing track past the Sunset Motel.  The new track starts just to the right of this photo. Climbing up out of El Vado, the line goes over former Mesa City  roadway and light industry.  The GNW purchased the la...

Soaking Tray

Image
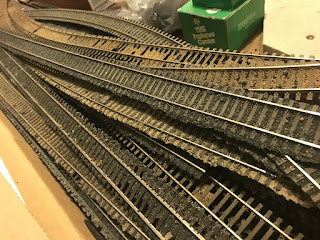
Work is progressing (slowly), and it's encouraging to see track get laid.  As a part of this process, I am trying to reuse as much old track before starting to use the new.  A lot of it came from a previous layout; a lot from others who were dismantling theirs and did not want to take the time to strip the track. Soaking the roadbed allowed it to easily come up (after about 20-30 min).  But the recycled track still had a lot of ballast and glue on it, making it useless for reuse.  So sharing a technique to assist anyone who may be in a similar situation. For switches, I just throw the turnouts in 5 gallon bucket for a few days.  The plastic and nickel silver is not affected by the soaking, and the ballast just falls off as the glue dissolves.  I even had a curved turnout I wanted to recycle, but it had some "Durhams Water Putty" on it from a roadway that crossed.  Soaked it for about a week, and even the Durhams just fell off.  Nice! Bu...